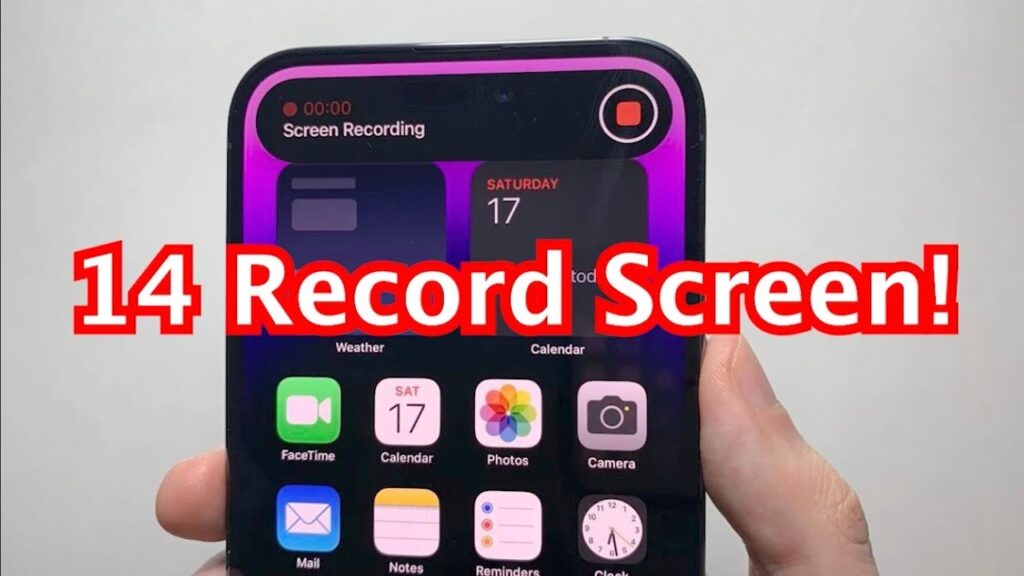
Screen recording on your iPhone 14 is a breeze! In essence, you just need to add the screen recording feature to your Control Center, then tap the record button. After you’re done, the recording saves right to your Photos app. Now, let’s get into the nitty-gritty of how you can capture that pesky bug in action or record a cherished video call with grandma.
Detailed Steps for Screen Recording on iPhone 14
Step 1: Add Screen Recording to Control Center
Go to Settings > Control Center, then tap the plus icon next to Screen Recording. This step is crucial because without adding the screen recording feature to your Control Center, you won’t be able to access it quickly. Think of your Control Center as a toolbox, and we’re adding another tool to it.
Step 2: Access the Control Center
Swipe down from the top-right corner of your screen to open the Control Center. For those of you new to the iPhone 14, the Control Center is like command central. It’s where you can adjust settings quickly without digging through the Settings app.
Step 3: Start Recording
Press the screen recording button—it looks like a solid circle inside a ring—then wait for the three-second countdown. Once you press the button, you have three seconds before the recording starts. Use this time to get to the app or screen you want to record. It’s showtime!
Step 4: End the Recording
Tap the red status bar at the top of your screen and press Stop. Remember, everything you do on your screen gets recorded. When you’re done, don’t forget to hit stop, or you might end up with a three-hour recording of your home screen!
Post-Recording Actions
Once you stop the recording, your iPhone 14 will save the video to the Photos app. From there, you can view, edit, or share your recording just like any other video. It’s like magic—you’ve just created your own video content!
Helpful Tips for iPhone 14 Screen Recording
- Make sure your iPhone has enough storage before recording; videos can take up a lot of space!
- Turn on Do Not Disturb mode to prevent notifications from popping up during your recording.
- If you want to record audio from your microphone, press and hold the screen recording button and turn on the microphone.
- You can trim the beginning and end of your screen recording in the Photos app for a cleaner start and finish.
- If you’re having trouble with the quality of the recording, check your internet connection and close other apps running in the background.
Frequently Asked Questions
| Question | Answer |
|---|---|
| How do I add screen recording to the Control Center on my iPhone 14? | Go to Settings > Control Center, then tap the plus icon next to Screen Recording to add it to your Control Center. |
| Can I record sound while screen recording? | Yes, press and hold the screen recording button in the Control Center and tap the microphone icon to turn on audio recording. |
| Where do my screen recordings get saved? | All screen recordings are saved automatically in the Photos app under the ‘Videos’ album. |
| How long can I screen record for? | There’s no time limit for screen recording, but the length might be restricted by your iPhone’s available storage space. |
| Can I edit my screen recording? | Yes, you can edit your screen recording in the Photos app, where you can trim, crop, and add filters. |
Wrapping Up Your Screen Recording Experience
Screen recording on the iPhone 14 is a straightforward process that can be incredibly useful. Whether you’re creating a tutorial, documenting an error, or just wanting to capture a digital moment, the power is now in your fingertips. With a few taps, you can add the screen recording feature to your Control Center, start your recording, and save it to your Photos app for future viewing.
Remember to manage your storage wisely, as videos can take up significant space, and don’t forget to enable your microphone if you want to capture sound. And if you’re keen on producing a polished final product, take advantage of the editing features available right in your Photos app.
Screen recording on the iPhone 14 can help you in so many ways – from professional tasks like creating app demos to personal ones like saving a live stream of your favorite band. The possibilities are endless, and now you’ve got the know-how to capture it all. So go ahead, give it a try! What will you record first?